Appearance
Manage profiles
By the end of this guide you can create a profile, find it in your list, read its overview, and understand how it moves through review. It takes about ten minutes.
A profile is a counterparty you track — a person or an entity (a company, fund, or protocol). It holds the counterparty's identity details, documents, linked wallets, screening results, and a risk rating. Profiles are where your KYC (Know Your Customer) record for each counterparty lives.
Browse and find profiles
Open Profiles from the sidebar to see everyone you track.
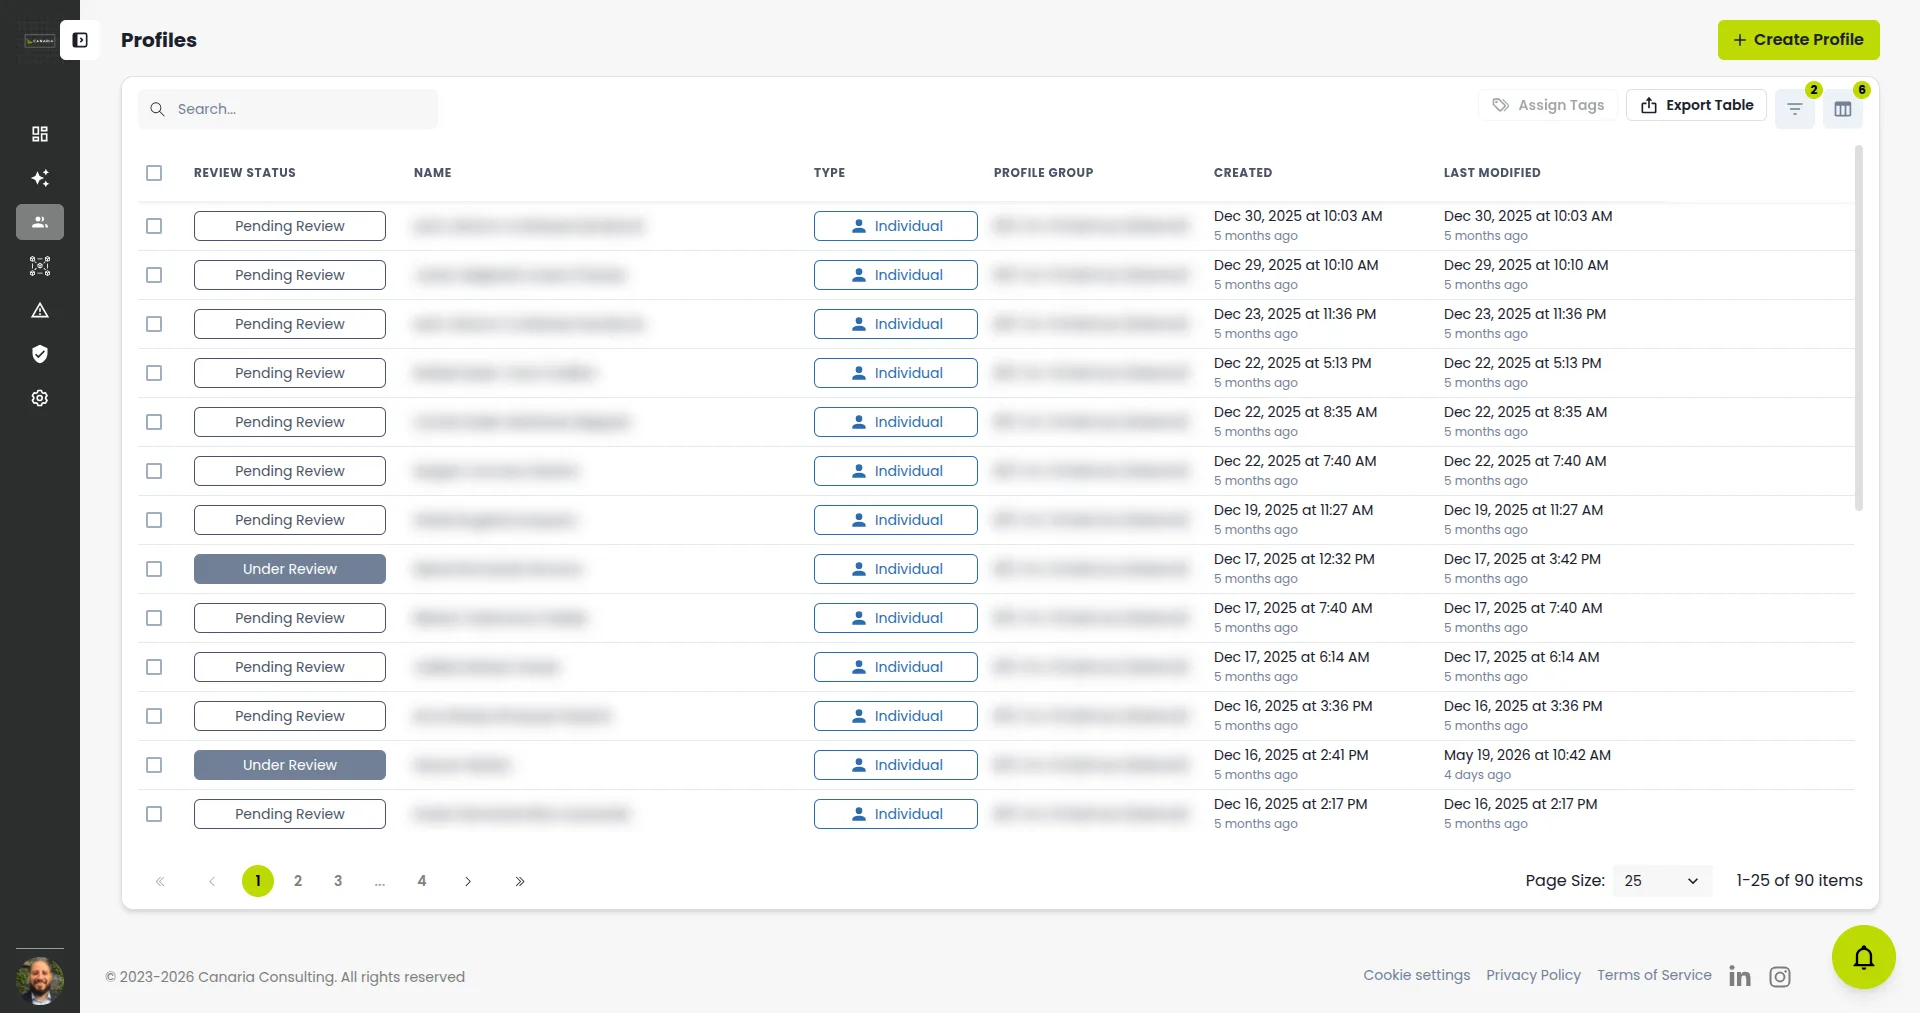
Each row shows the profile's review status, name, type (Individual or Entity), profile group, and when it was created and last modified. From here you can:
- Search by name, or use filters (the funnel icon) to narrow by status, type, group, and more.
- Customize columns to show or hide fields, and drag headers to reorder them.
- Assign Tags to selected rows, or Export Table to CSV/JSON for recordkeeping.
- Sort any column, and page through with the controls at the bottom.
Create a profile
- Click Create Profile.
- On Profile Information, enter a Profile Name, choose a Profile Type (Individual or Entity), and pick a Profile Group.
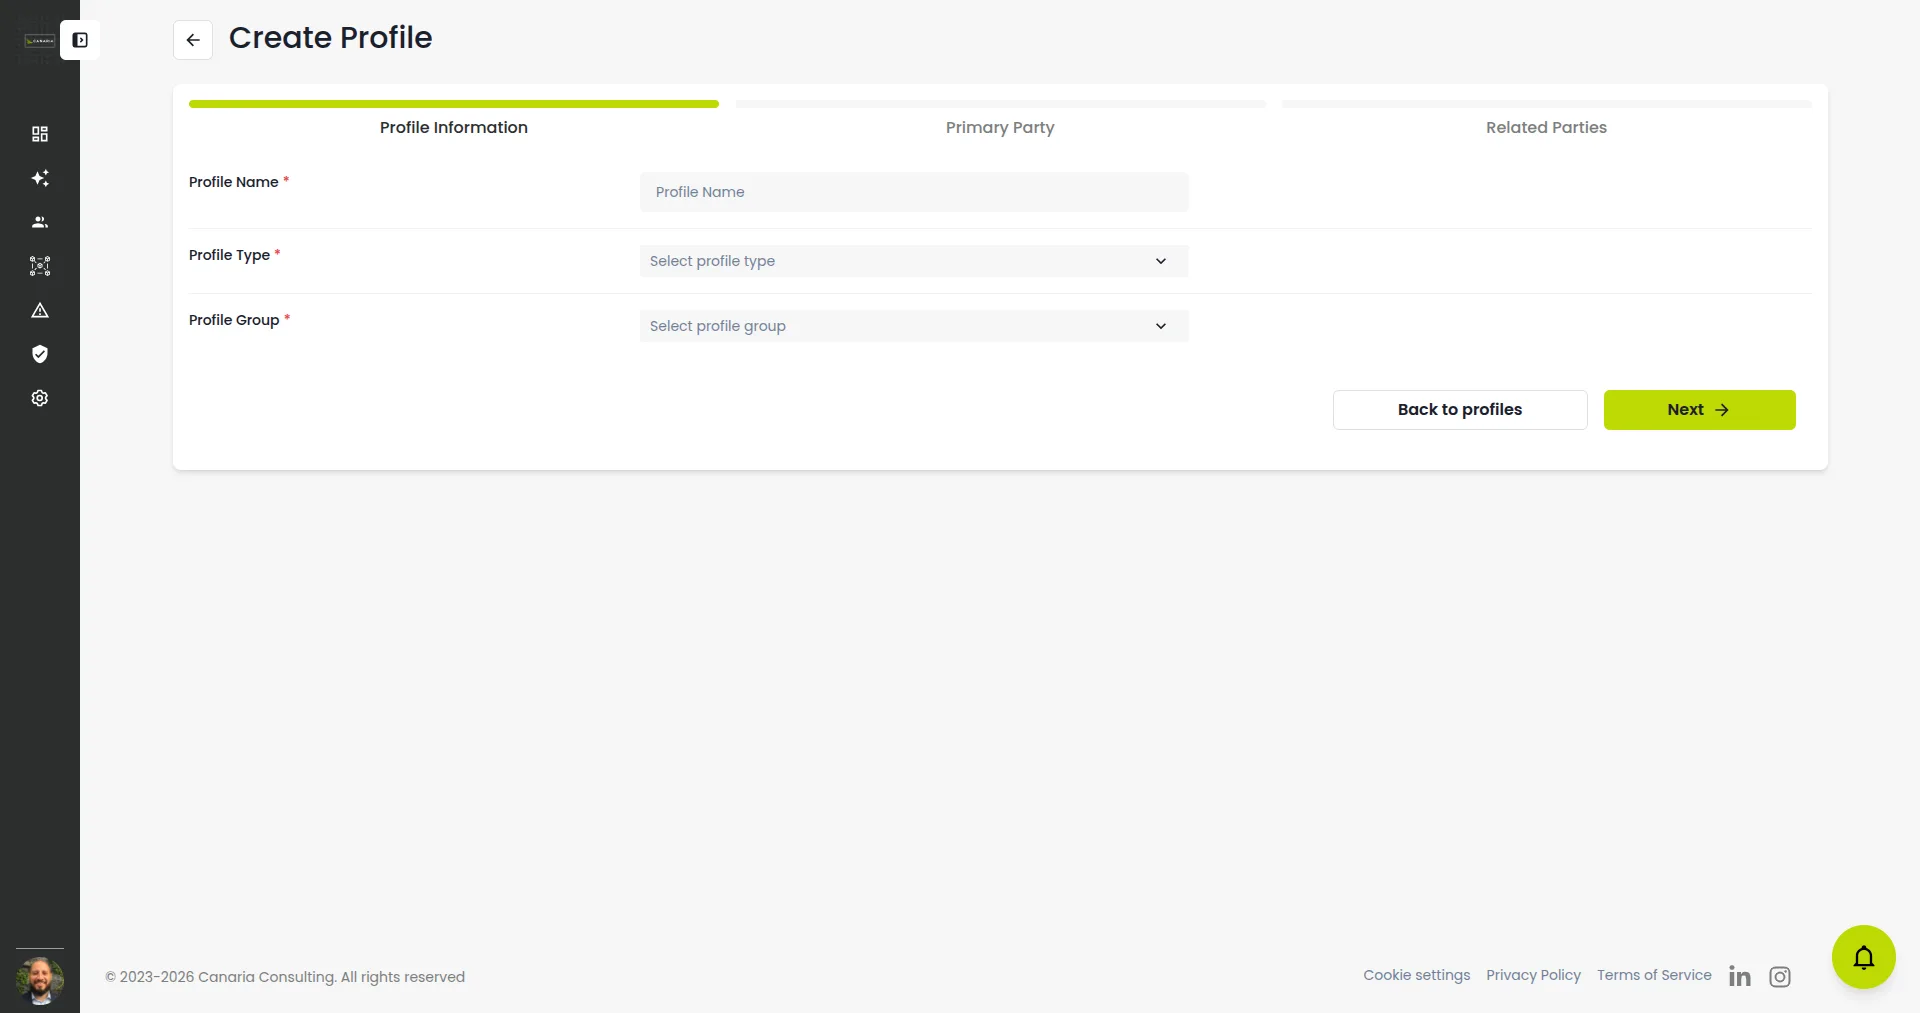
- Click Next and fill in the Primary Party details (the person or entity itself).
- Add any Related Parties — for example, beneficial owners or directors — then finish.
What just happened?
As soon as you create a profile, CryptoComply screens it against sanctions and watchlists and assigns a risk rating. You don't need to kick off the first screening yourself.
Read a profile's overview
Click any profile to open it. The Profile Overview summarizes everything at a glance.
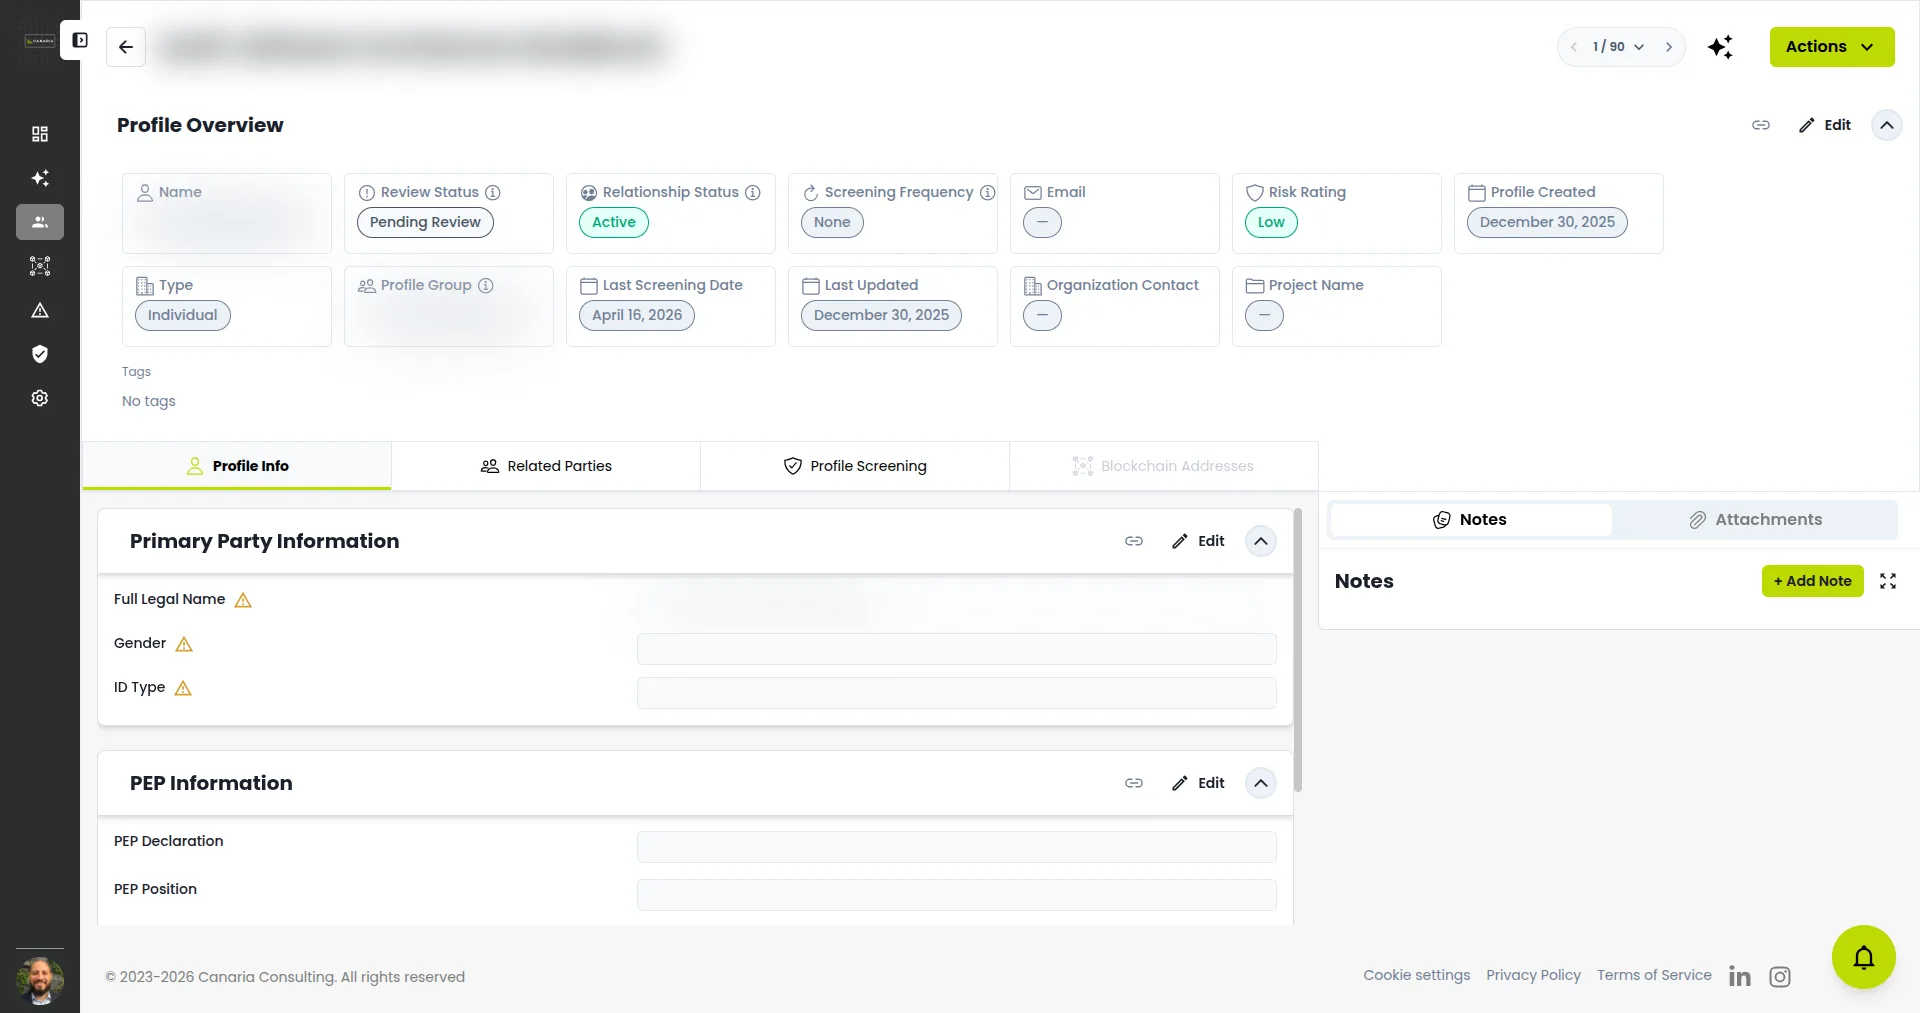
- The cards across the top show Review Status, Relationship Status, Risk Rating, Screening Frequency, type, group, and key dates.
- The tabs — Profile Info, Related Parties, Profile Screening, and Blockchain Addresses — hold the full record, including PEP (Politically Exposed Person) information and any wallets linked to this counterparty.
- The Notes and Attachments panel on the right is where you record decisions and store documents.
- Use Edit on any section to update it, and Actions (top right) for tasks like generating a report.
Two kinds of status
CryptoComply tracks two independent statuses on every profile, so the due-diligence stage and the business relationship don't get conflated:
- Review status — where the profile sits in due diligence: Pending Review → Under Review → RFI Sent → RFI Responded → Escalated → Approved or Declined.
- Relationship status — the state of the business relationship: Active, Inactive, or Suspended.
Filter and sort by either one to build your work queue — for example, everything still in Pending Review.
Organize with groups and tags
- Profile groups collect related profiles (say, everyone from one onboarding campaign) and can share screening settings and risk thresholds.
- Tags are free-form labels you can apply in bulk from the list to slice your profiles any way you work.
What's next?
- Review alerts — work the risk changes and sanctions hits CryptoComply raises.
- Screen a blockchain address — link wallets to a profile and screen them.
- Connect an AI assistant — ask an AI tool to triage profiles for you in plain language.
Troubleshooting
| Problem | Fix |
|---|---|
| Can't create a profile | Profile Name, Type, and Group are all required. A read-only role can't create profiles — ask an admin. |
| A new profile shows no screening yet | Screening runs in the background on creation; give it a moment and refresh. |
| Can't find a profile | Clear active filters (the funnel shows a count when filters are on), or search by name. |
| The risk rating looks wrong | It reflects current thresholds and screening. Re-screen, or check your exposure-risk thresholds. |